How to use Clerk with PostHog Identify in Next.js
- Category
- Guides
- Published
Learn how to configure your Next.js applications to send Clerk user data to PostHog for analytics and data analysis.
The ability to gather analytics and trace actions on your website is important, but data analysis can be tricky.
PostHog is an open-source platform that enables developers to easily add features to their web apps such as product analysis, session replay, feature flags, and more. By default, PostHog will automatically start gathering data about your web application and how it's being used. When properly configured, you can also tie data about your Clerk users to the events that are captured, whether this is using default events like the $pageview event, or custom events you program directly into your code.
In this article, you'll learn how to link Clerk users with data in PostHog to confidently identify what specific users are doing in your Next.js application.
How PostHog works
When PostHog is first installed, it will automatically start creating sessions for users who visit your web applications.
These sessions are identified by universally unique identifiers (UUIDs) and each ID is specific to the browser that is accessing the site. PostHog will then start gathering data about the usage of the web app such as page views, elements clicked, etc. While this functionality in itself is super powerful, we live in a world where users often interact with their favorite services from a number of different devices.
This is where the identify function comes in.
Identifying users with identify
The identify function in PostHog allows you to add your own user IDs to sessions, along with any custom metadata you'd like to include.
Doing so allows you to enrich the data gathered by PostHog, and allows the PostHog dashboard to display the captured events with the user profile along with any additional details you associated with the session. And one of the great outcomes of using identify is you can trace the actions of your users across different devices, as PostHog will link those sessions based on the user ID you configured.
This can be incredibly useful when it comes to debugging user issues or gathering intel about specific features.
How to configure a Clerk and PostHog to work together
Now that you understand how identify can be used to associate individual users with PostHog events that span across devices, let's look at how to configure this in your Next.js application. The demo app is a relatively simple app that uses a single input and button to generate recipe suggestions using OpenAI's developer platform and render them in a grid. This project already has Clerk installed and configured, a PostHog project created, and the library configured as directed in the Next.js guide in their docs.

By default, PostHog will capture certain actions as they're performed in the web app, such as typing in a field or clicking a button.

Notice, however, that the Person column shows a UUID instead of a user name. This will be the case even if I am signed into my app using Clerk. This can be fixed by using the identify function from PostHog along with the information Clerks Next.js library makes available in a few hooks.
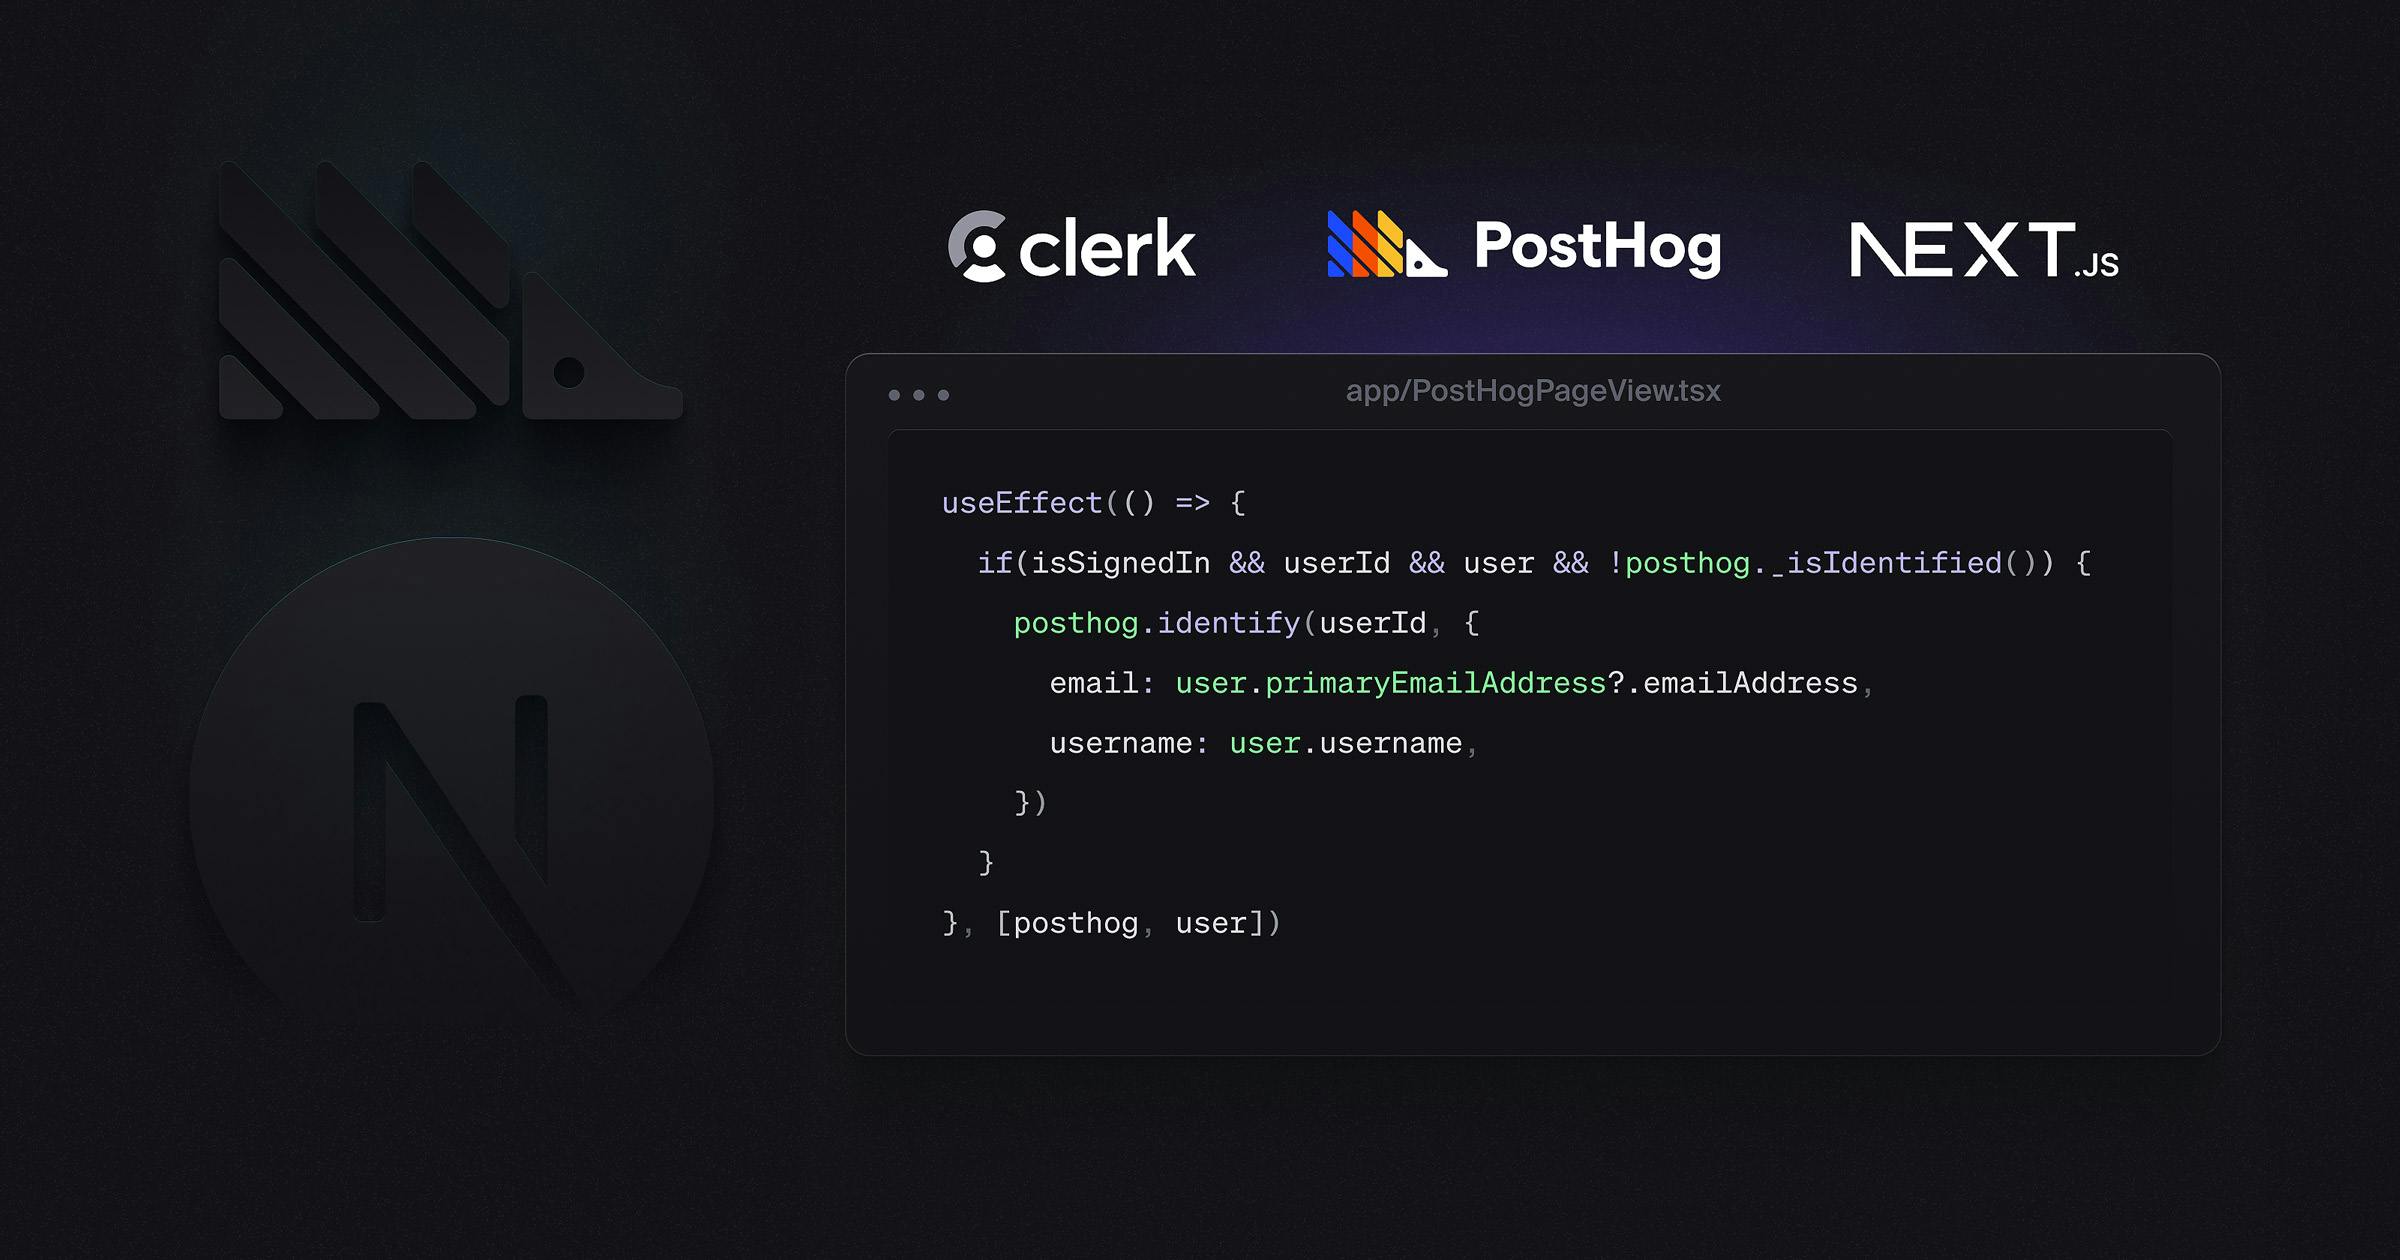
The first we'll use from Clerk is useAuth, which provides some basic information about the session such as the login status and user ID. The second hook that will be used is useUser which returns more detailed information about the user who's logged in. By adding another useEffect the PostHogPageView component created in their onboarding guide, we can check to make sure the user is logged in, that the info we need is available, and the identify function has not already been called before linking the user's data to the session. The posthog._isIdentified() function lets us know if identify has been run previously, so this can be used to prevent the function from running when it doesn't need to.
'use client'

import { usePathname, useSearchParams } from 'next/navigation'
import { useEffect } from 'react'
import { usePostHog } from 'posthog-js/react'

// 👉 Import the necessary Clerk hooks
import { useAuth, useUser } from '@clerk/nextjs'

export default function PostHogPageView(): null {
  const pathname = usePathname()
  const searchParams = useSearchParams()
  const posthog = usePostHog()

  // 👉 Add the hooks into the component
  const { isSignedIn, userId } = useAuth()
  const { user } = useUser()

  // Track pageviews
  useEffect(() => {
    if (pathname && posthog) {
      let url = window.origin + pathname
      if (searchParams.toString()) {
        url = url + `?${searchParams.toString()}`
      }
      posthog.capture('$pageview', {
        $current_url: url,
      })
    }
  }, [pathname, searchParams, posthog])

  useEffect(() => {
    // 👉 Check the sign-in status and user info,
    //    and identify the user if they aren't already
    if (isSignedIn && userId && user && !posthog._isIdentified()) {
      // 👉 Identify the user
      posthog.identify(userId, {
        email: user.primaryEmailAddress?.emailAddress,
        username: user.username,
      })
    }
  }, [posthog, user])

  return null
}
Now by signing in and performing those same actions, my account info is also displayed in the PostHog dashboard!

Now the one thing that needs to be addressed is logging out. If the info passed into identify is not cleared out and the person is using a shared computer, there is a chance that you'd get some bad data since your app might think the previous user is still logged in. By adding another few lines of code to the useEffect created, you can configure your app to clear the data when the user logs out:
useEffect(() => {
  // 👉 Check the sign in status and user info,
  //    and identify the user if they aren't already
  if (isSignedIn && userId && user && !posthog._isIdentified()) {
    // 👉 Identify the user
    posthog.identify(userId, {
      email: user.primaryEmailAddress?.emailAddress,
      username: user.username,
    })
  }

  // 👉 Reset the user if they sign out
  if (!isSignedIn && posthog._isIdentified()) {
    posthog.reset()
  }
}, [posthog, user])
Conclusion
With a small modification to the default PostHogPageView component, you can dramatically increase user traceability in your web app analytics! This method enables you to not only trace user flows within a single session, but with every session they create over a number of devices.
If you found this guide useful, tell us how you used it in your app on Twitter/X, and be sure to tag @clerkdev to let us know!