Clerk Changelog

Testing Tokens

Category
E2E
Published

Unlocking end-to-end testing in Clerk applications

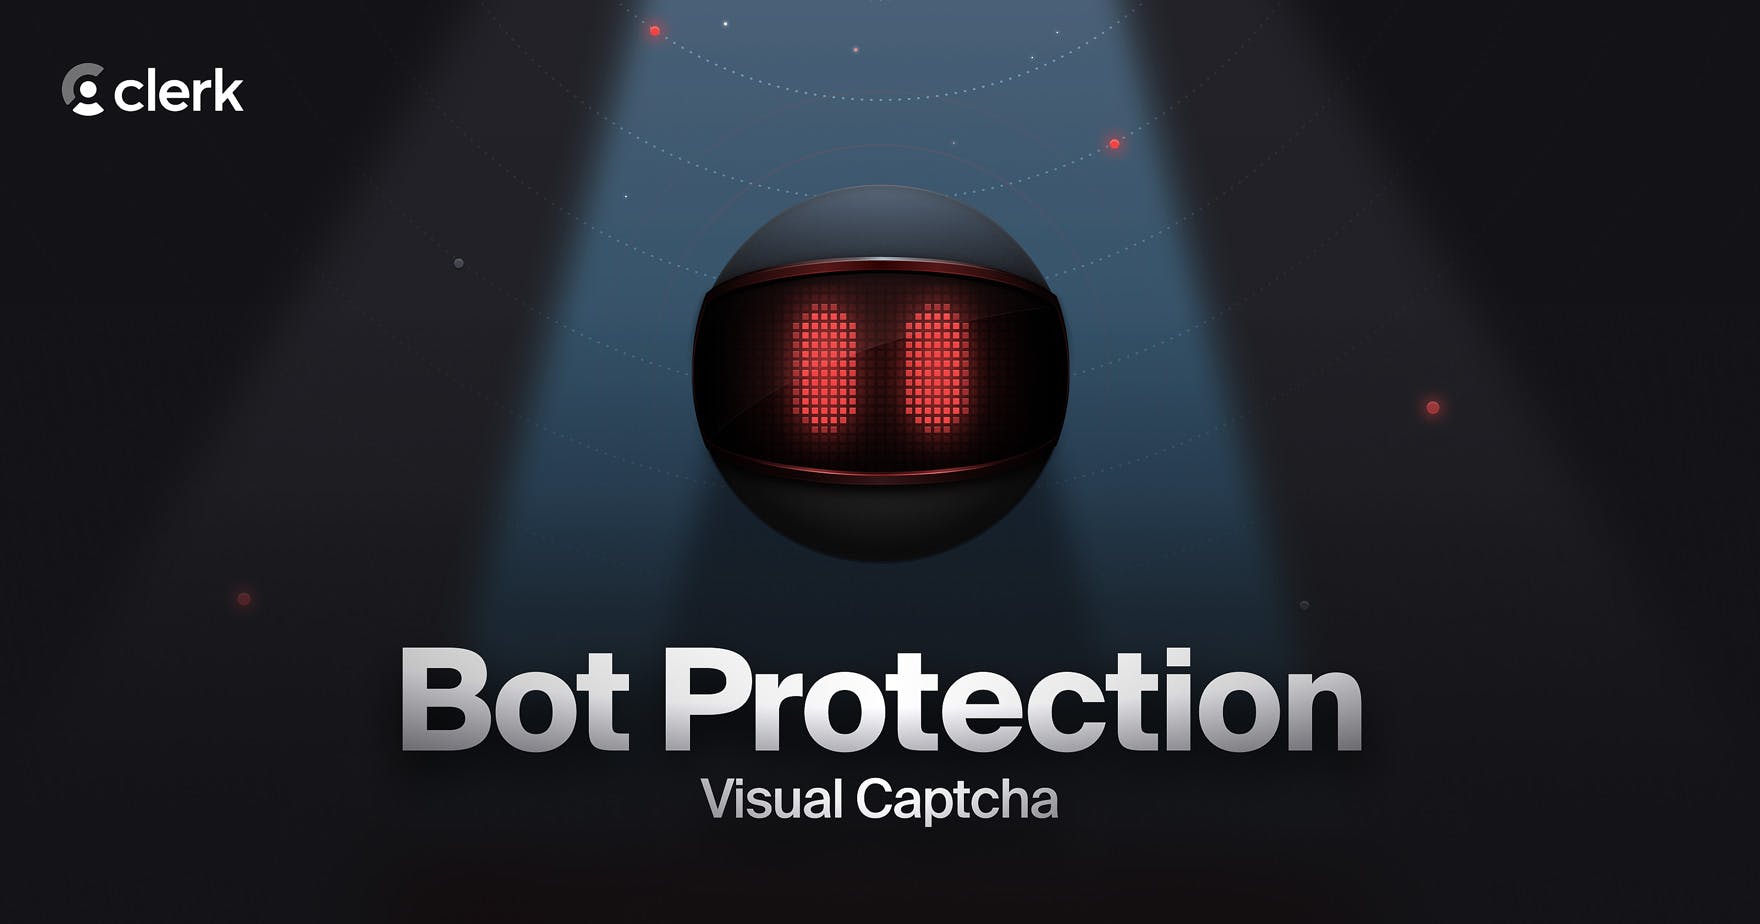
Securing your application is one of our top priorities here at Clerk. To that end, we incorporate several protections against automated bot traffic, implemented in our Web Application Firewall running at edge.

These safeguards, while effective against malicious bots, have historically interfered with end-to-end test suites. If you ever encountered a "Bot traffic detected" error in your tests, it's those protections in action.

Today we are releasing Testing Tokens - a feature that allows testing suites to run uninhibited by such security measures.

For usage instructions and Playwright integration, visit the Testing Tokens docs and the Playwright guide. Additionally, we will be working on an integration for Cypress in the future.

Testing Tokens are currently available in development instances, but may be expanded to production instances in the future.

For further info, feedback or issues, refer to the docs and the @clerk/testing package.

Author
Agis Anastasopoulos

Passkeys in Beta

Category
Beta
Published

Passkeys are a simple-to-use and secure passwordless way to authenticate your users. Now available for your applications in Beta.

Forget remembering passwords! Based on the WebAuthn specification, passkeys are a new method to log in securely using your fingerprint, face scan, PIN, or pattern. This passwordless flow results in a more secure and easy-to-use sign-in flow for your users.

If you want to know more about passkeys in general, head to our blog and read our article: What are passkeys and how do they work?

Today we're thrilled to announce that passkeys are now in beta for all applications within Clerk.

Using passkeys with Clerk

Please take note that at the moment, enabling passkeys is only available for applications that are using "Core 2" version of the SDK which, for example, if you're using @clerk/next-js the package version should be >= 5.0.x.

During the beta, we recommend using the latest release of our SDKs to test out passkeys.

If you're using our <SignIn /> UI Component, you can enable passkeys for your users by activating Passkeys as an Authentication strategy in the Clerk Dashboard.

The easiest way to allow your users to create and manage their passkeys is to use the prebuilt <UserProfile /> component, which includes passkey management in the Security tab.

Beyond the all-in-one components, we provide handy helpers like createPasskey() and authenticateWithPasskey() for building your own flows. Learn more about rebuilding passkey authentication from scratch in our Custom Flows doc.

More about the Beta

While in Beta, enabling passkeys is free for all applications to use. We'd love for you to give it a try, and we'll be collecting all of your feedback along the way. If you have any feedback, please reach out at beta-passkeys@clerk.dev.

Author
Mary Zhong

Clerk Core 2 is now Generally Available

Category
SDK
Published

Our latest major release (Core 2) is now Generally Available. Enjoy the new foundation of Clerk - featuring refreshed UI components, improved middleware helpers, and enhanced overall performance.

After a little over a month in Beta, we're making our latest major release Generally Available. Core 2 represents a massive overhaul to the way Clerk works under the hood and ships with a bunch of goodies for you and your users. Going forward, whenever you install one of our Clerk packages, you'll be able to take full advantage of the latest Core 2 features.

We want to thank everyone who participated in the beta and helped us get to this point 💜.

Head to our Core 2 Upgrade Guides or try one of our Quickstarts to get started with Core 2 today!

Author
Nikos Douvlis

Visual Captcha for Bot Protection

Category
Bot Protection
Published

Fight bot detection false positives by showing a visual captcha challenge

Until recently, the Bot Protection feature was entirely invisible to end-users. While effective in most cases, occasionally real users were being wrongly identified as bots (aka. false positives) and were therefore blocked from signing up to the application, without having a way to rectify the error. To overcome this issue, users would have to reach out via support channels for remediation.

Clerk now expands the functionality of Bot Protection by offering more control over the widget, allowing your end-users to overcome such situations on their own. There are now two Bot Protection widget types:

  1. Invisible: Render an invisible challenge if bot traffic is suspected. (This is what we had until now.)
  2. Smart: Render an interactive challenge if bot traffic is suspected. Suspected users will have to click to the widget in order to prove they're not a bot.

For instances that had previously enabled Bot Protection, your settings are automatically set to Invisible as this was the previous default. In the near future, all new instances will default to Smart.

To configure your Bot Protection settings, head to the Attack Protection section of Clerk Dashboard and read more about Bot Protection.

Author
Stefanos Anagnostou

SAML Enterprise Connections are now GA and we've added IdP Initiated SSO

SAML Enterprise Connections are now Generally Available

You may have heard this was coming when we shared our notice in February that SAML Enterprise Connections were exiting Beta. Well... today is the day. Thank you to all of the customers who participated in the Beta and helped harden this functionality 🎉.

But like Steve Jobs often said, there's one more thing...

IdP Initiated SSO is here

Along with the GA, we're also releasing IdP-initiated SSO. This means your customers can now use their IdP of choice (Google Workspace, Microsoft AD, Okta, etc) to initiate sign ins, instead of having to start at your app's Sign In views.

While this can be a major quality of life upgrade for your users who already use their IdP's for their other applications, it's important to weigh the risks of IdP-intiated SSO for your application.

If you think your users would be interested in this, have a peek at our IdP-initiated flow docs.

A few more things...

Apologies. I said one more thing but I guess I meant, a few more things. I got caught up in the moment 🙇.

In addition to the GA and the IdP-initiated feature release, we also made some quality-of-life improvements to the Dashboard when configuring Enterprise Connections. The new updates make it less error prone and more intuitive to provision the different providers, and improve the overall developer experience.

Alongside the GA we also released a few specific tutorials that cover setting up SAML Enterprise Connections for Azure, Google Workspace, and Okta.

If you haven't taken a look at Enterprise Connections in a bit, we encourage you to take another look!

Author
Haris Chaniotakis

Community SDK support for Astro

Category
Community
Published

You can now secure your Astro website with Clerk!

Install the package

To get up and running with Clerk and Astro, start by installing the astro-clerk-auth and @astrojs/node packages:

npm i astro-clerk-auth @astrojs/node

Add environment variables

Before you start using the Clerk integration, you'll first need to set the following environment variables:

.env
PUBLIC_ASTRO_APP_CLERK_PUBLISHABLE_KEY=<your-publishable-key>
CLERK_SECRET_KEY=<your-secret-key>

PUBLIC_ASTRO_APP_CLERK_SIGN_IN_URL=/sign-in
PUBLIC_ASTRO_APP_CLERK_SIGN_UP_URL=/sign-up

Extend the types

Update the env.d.ts file inside your Astro project:

env.d.ts
/// <reference types="astro/client" />
/// <reference types="astro-clerk-auth/env" />

Add the Clerk integration

Open astro.config.mjs file and add the clerk() integration, and set the output to server:

astro.config.mjs
import { defineConfig } from "astro/config";
import node from "@astrojs/node";
import clerk from "astro-clerk-auth";

export default defineConfig({
  integrations: [
    clerk(),
  ],
  output: "server",
  adapter: node({
    mode: "standalone",
  }),
});

Use the middleware

This example showcases how to use the clerkMiddleware and the createRouteMatcher in Astro:

src/middleware.ts
import { clerkMiddleware, createRouteMatcher } from "astro-clerk-auth/server";

const isProtectedPage = createRouteMatcher(['/user(.*)'])

export const onRequest = clerkMiddleware((auth, context, next) => {
  if (isProtectedPage(context.request) && !auth().userId) {
    return auth().redirectToSignIn();
  }

  return next();
});

Use the components

The package exports the Clerk prebuilt UI components as Astro components and can be used anywhere inside the website:

src/pages/index.astro
---
import { SignedIn, SignedOut } from "astro-clerk-auth/components/control";
import { UserButton, SignIn } from "astro-clerk-auth/components/interactive";
---
<Layout title="Welcome to Astro + Clerk">
  <SignedIn>
    <UserButton />
  </SignedIn>

  <SignedOut>
    <SignIn routing="hash" />
  </SignedOut>
</Layout>

Congratulations, you have secured your Astro website with Clerk!

To learn more, check out the repo on GitHub, or jump right in with these starters for Javascript and React.

Author
Pantelis Eleftheriadis